Gear Care & Repair
Repair Cracks and Leaks in Your Rubber Boots
It’s a no-brainer that rubber boots are supposed to keep your feet dry. So what do you do when your boots start to leak because of a crack or hole? Most people would throw them away and buy another pair. At anywhere between $30-$150 per pair, buying new ones can add up quickly. With a little Aquasure SR and Revivex Rubber Boot Treatment, you can repair your rubber boots keep those feet nice and dry. Puddle jumpers rejoice!
You will need the following materials:
- Aquasure SR Shoe Repair Adhesive
- Scotch or painter’s Tape
- Light grain sandpaper
- One leaky, well-loved, and cracked rubber boot. We restored our rubber and richness with some Revivex Rubber Boot Treatment.
Step by step repair instructions for fixing a crack/hole in your rubber boot.
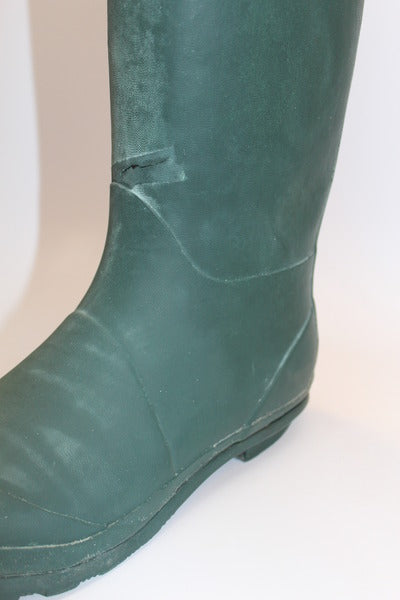
- Find the hole or crack where the boot is leaking, in our case this was a high-wear area where the ankle bend meets the top of the boot.
- Scrub the boot. Especially if you wear your rubber boots to clean the barn or muck out stalls. Once you’ve given the boot a good scrub with soap and water, use a little isopropyl (rubbing) alcohol to make sure it’s squeaky clean. If you want to really ensure a good bond, use some sandpaper to rough up the area.
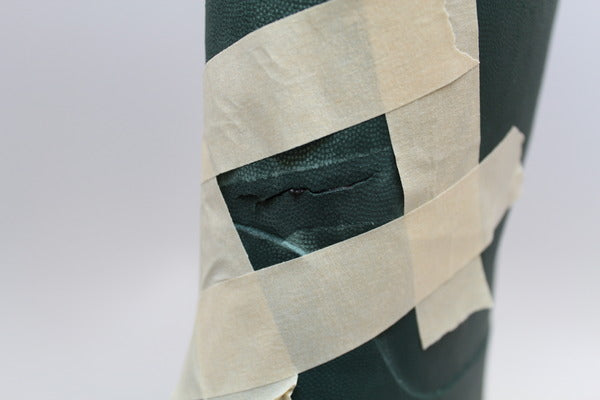
- Use your tape to mark off the area around the crack that you will be applying Aquasure SR onto.
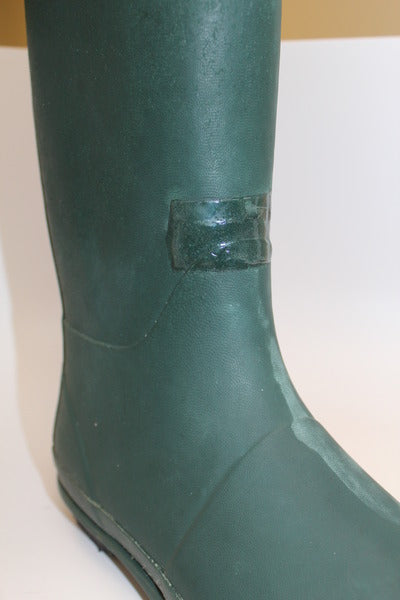
- Apply Aquasure SR to the crack or hole on your rubber boot. Make sure that the crack/hole is completely covered by the adhesive and extends an area of at least ½ inch around the crack, (1 inch for a hole) to prevent it from growing. Otherwise it won’t seal completely.
- Allow the boot to dry on a flat surface. After 30 minutes, remove the tape and allow the repair to fully cure. This can take up to 24 hours.
Didn’t use the entire tube to repair your hole? Don’t worry, Aquasure SR is also great for building toe caps, flexible knee patches, and rebuilding worn soles.